 By Thezoqo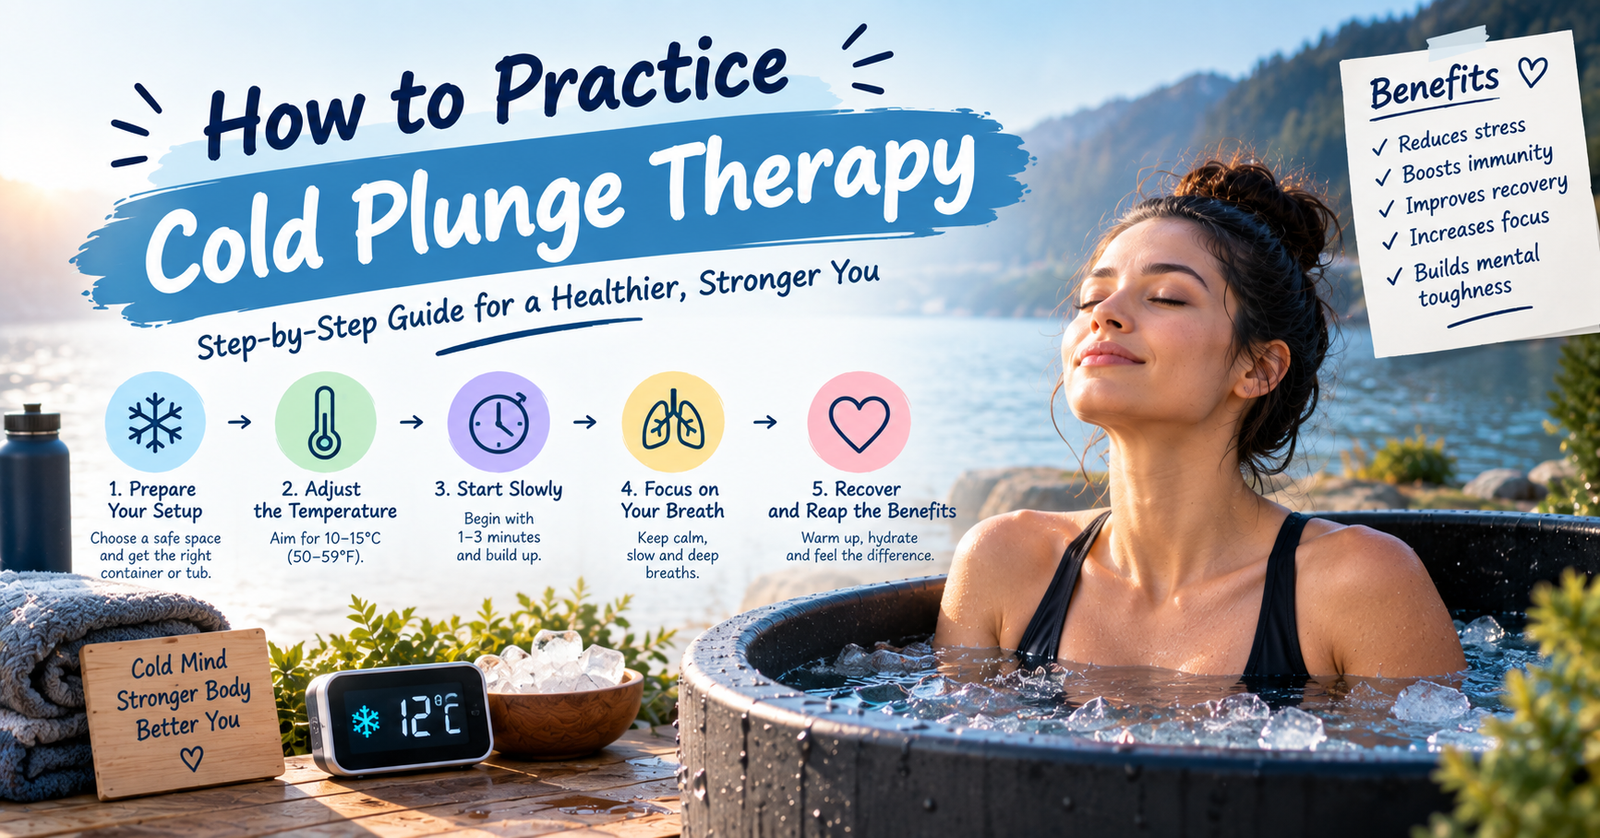
Cold water immersion has rapidly evolved from an elite athletic recovery secret into a mainstream daily wellness ritual. From suburban backyards in Canada to high-end fitness clubs across the United States, thousands of people are turning to cold water exposure to boost energy, improve mental resilience, and accelerate post-workout recovery. If you are eager to learn how to practice cold plunge therapy safely and effectively, establishing a proper foundation is key to reaping the maximum physical and psychological rewards.
Stepping into freezing water triggers a sudden physiological response. Without proper preparation, the shock can feel overwhelming. Learning how to practice cold plunge therapy systematically ensures that you turn what seems like an intimidating challenge into a deeply rejuvenating daily habit. When done correctly, cold immersion stimulates nervous system repair, enhances mood through neurotransmitter release, and calms systemic inflammation.
Historical and scientific perspectives on an ice bath reveal that cold therapy has been used for centuries across Nordic and ancient cultures to improve circulation and build mental fortitude. Modern hydrotherapy techniques refine these ancient traditions into structured, science-backed protocols. In this comprehensive guide, we unpack how to practice cold plunge therapy, detailing ideal water temperatures, duration guidelines, breathing techniques, safety precautions, and at-home setup options.
What Is Cold Plunge Therapy?
Cold plunge therapy—often referred to as cold water immersion (CWI)—involves submerging the body in cold water up to the chest or neck for a short, controlled duration. Unlike a quick cold shower, a full cold plunge creates a uniform thermal shift across your skin, triggering powerful systemic adaptations.
The Science Behind Cold Immersion
- Vaso-constriction and Flush: Cold water causes peripheral blood vessels to constrict rapidly, pulling blood away from limbs toward vital organs. Once you step out, blood vessels dilate (vasodilation), flushing tissues with fresh, oxygenated blood.
- Norepinephrine Spike: Exposure to cold temperatures stimulates a massive release of norepinephrine, a neurotransmitter that sharpens focus, boosts alertness, and regulates mood.
- Dopamine Elevation: Studies show that cold immersion can elevate baseline dopamine levels by up to 250% for several hours post-plunge, promoting a sustained sense of well-being.
- Vagus Nerve Activation: Immersing your body in cold water activates the vagus nerve, helping train your parasympathetic nervous system to manage physical and psychological stress more effectively.
Key Benefits of Cold Plunge Therapy
Before jumping into how to practice cold plunge therapy, it helps to understand why so many fitness enthusiasts and health-conscious individuals swear by this cold ritual:
- Accelerated Muscle Recovery: Cold water reduces localized swelling, muscle soreness, and tissue breakdown after high-intensity exercise.
- Enhanced Mental Resilience: Choosing to step into uncomfortable cold water builds voluntary mental fortitude, training your mind to remain calm under pressure.
- Better Sleep Quality: By assisting in core body temperature regulation and calming nervous system hyper-arousal, regular cold plunging supports deeper sleep cycles.
- Metabolic Stimulation: Cold exposure activates brown adipose tissue (brown fat), which burns calories to generate internal body heat.
- Reduced Systemic Inflammation: Cold immersion helps lower circulating inflammatory biomarkers throughout muscles and joints.
For more health insights, lifestyle trends, and wellness advice, visit thezoqo.
How to Practice Cold Plunge Therapy in 6 Step-by-Step Stages
Mastering how to practice cold plunge therapy requires a structured approach. Follow these six essential stages to make every session safe, comfortable, and productive.
Step 1: Choose the Right Water Temperature
Finding the right temperature depends on your experience level. You do not need freezing water to experience benefits:
- Beginners: Start between 55°F and 60°F (12°C to 15°C). This range provides a noticeable cold signal without causing intense physical panic.
- Intermediate Plungers: Transition to 50°F to 55°F (10°C to 12°C) as your body adapts over a few weeks.
- Advanced Plungers: Maintain temperatures between 40°F and 48°F (4°C to 9°C) for maximum thermal stimulus.
Step 2: Prepare Your Body with Controlled Breathing
Your initial reaction to cold water will be hyperventilation—a sudden gasp reflex driven by adrenaline. Controlling your breathing before stepping into the water is critical:
- Spend 2 to 3 minutes performing slow, deep diaphragmatic breathing.
- Inhale through your nose for 4 seconds, hold briefly, and exhale slowly through your mouth for 6 seconds.
- Entering the cold water on a slow, controlled exhale helps suppress the initial shock reflex.
Step 3: Submerge Smoothly and Keep Moving Still
Submerge your body quickly but calmly up to your collarbones:
- Keep your hands submerged or place them lightly on your thighs.
- Avoid thrashing around; moving creates water turbulence that breaks up the thin warm thermal layer your skin forms, making the water feel significantly colder.
- Keep your neck relaxed, jaw unclenched, and eyes open to maintain mental composure.
Step 4: Focus on the First 60 Seconds
The first minute of a cold plunge is always the hardest. Your brain will urge you to jump out. Focus entirely on slow, steady exhalations. Once you cross the 60-second mark, your peripheral nerves desensitize slightly, and a calm, meditative state usually sets in.
Step 5: Keep Durations Short and Purposeful
When researching how to practice cold plunge therapy, remember that more time is not necessarily better:
- Beginners: Aim for 1 to 2 minutes per session.
- Intermediate/Advanced: Aim for 3 to 5 minutes maximum.
- Health experts suggest targeting a weekly total of 11 minutes spread across 3 to 4 separate sessions to unlock the core physiological rewards without over-stressing your tissues.
Step 6: Warm Up Naturally (The Rewarming Phase)
How you exit and warm up after a session is just as important as the plunge itself:
- Step out of the tub carefully, as cold legs can feel slightly numb or unstable.
- Dry off immediately with a warm towel and put on dry, insulated clothes, focusing on keeping your head, feet, and core warm.
- Allow your body to shiver naturally for a few minutes before jumping into a hot shower; shivering triggers additional brown fat activation and calorie burn.
- Sip a warm cup of herbal tea or warm water to raise your core temperature from the inside out.
Common Equipment Options for Cold Plunging at Home
Learning how to practice cold plunge therapy at home is easier than ever, thanks to a wide variety of equipment options tailored to different budgets:
- The Household Bathtub: The most accessible starting point. Fill your tub with cold tap water and add 2 to 3 bags of store-bought ice to drop the temperature to beginner-friendly levels.
- Stock Tanks and DIY Tubs: Galvanized metal or heavy-duty plastic stock tanks placed in backyards or on patios provide a durable, cost-effective setup for daily use.
- Inflatable Cold Plunge Tubs: Portable, insulated inflatable tubs offer great portability and hold temperature far better than standard plastic containers.
- Dedicated Cold Plunge Chiller Units: All-in-one commercial cold tubs come equipped with built-in filtration, ozone sanitation, and digital chiller units that maintain exact temperatures 24/7 without requiring ice bags.
Essential Safety Precautions and Who Should Avoid Cold Plunging
While understanding how to practice cold plunge therapy opens up major health benefits, cold exposure presents real physical stress. Safety must remain your top priority.
Key Safety Rules
- Never Plunge Alone as a Beginner: Always have a buddy nearby when starting out, especially when practicing in open natural bodies of water like lakes, rivers, or ocean bays.
- Avoid Hyperventilation Breathing in Water: Never perform aggressive breath-holding or hyperventilation exercises (such as cyclic Wim Hof breathing) while physically inside the water, as this increases the risk of shallow-water blackout.
- Listen to Your Body: If your speech becomes slurred, your skin turns excessively pale or blue, or you experience uncontrollable shivering while submerged, exit the tub immediately.
Medical Contraindications
Consult a qualified physician before learning how to practice cold plunge therapy if you have any of the following underlying medical conditions:
- Cardiovascular disease, high blood pressure, or a history of heart arrhythmia
- Raynaud’s phenomenon or severe cold hypersensitivity
- Epilepsy or history of seizures
- Pregnancy
Frequently Asked Questions
Should I cold plunge before or after a workout?
It depends on your training goals. Cold plunging after workout sessions reduces muscle soreness. However, if your primary goal is building muscle mass (hypertrophy) or maximum strength, wait at least 4 to 6 hours post-workout before plunging, as immediate cold exposure can blunt natural muscle protein synthesis pathways.
Is a cold shower as effective as a cold plunge?
Cold showers are fantastic for morning alertness and basic mood boosts, but they do not provide the uniform pressure or deep hydrostatic cooling of full body immersion. A cold plunge cools your core and muscle tissues far more effectively than running shower water.
How often should I practice cold plunge therapy?
For optimal results, aim for 3 to 4 sessions per week, accumulating roughly 11 total minutes of cold exposure per week. Consistency matters far more than spending long periods in freezing water.
Conclusion: Start Your Cold Therapy Journey Today
Learning how to practice cold plunge therapy gives you a powerful tool for physical recovery, mental clarity, and stress resilience. By starting with manageable temperatures, prioritizing slow breathing, keeping session durations modest, and allowing your body to warm up naturally, you can easily integrate cold immersion into your weekly wellness routine.
Take it one step at a time, respect your body’s signals, and embrace the refreshing challenge of cold water immersion.