 By Thezoqo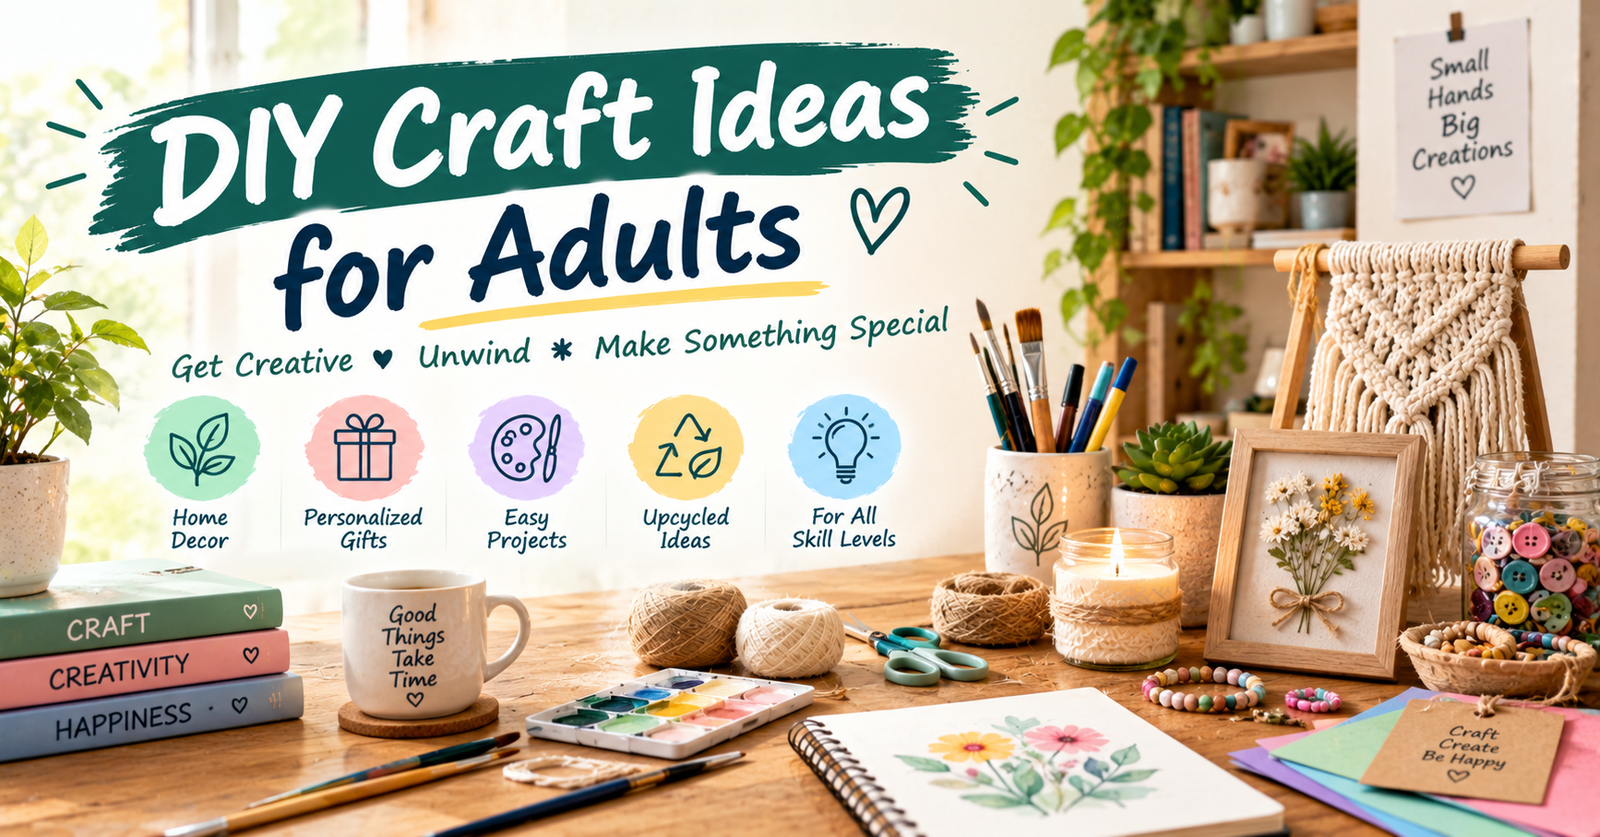
Crafting is no longer just a childhood pastime or a rainy-day activity for kids. Today, millions of adults are rediscovering the joy of hands-on creativity. Beyond the satisfaction of creating beautiful, functional items for your home, engaging in creative handiwork provides a powerful therapeutic escape from daily digital screen fatigue, reduces stress, and sharpens mental focus.
However, adult crafting demands a different standard than simple paper-and-glue projects. Today’s crafters are seeking sophisticated aesthetics, elevated home decor items, eco-friendly upcycled pieces, and high-quality handmade gifts that look like they were purchased from a boutique design studio.
Whether you are a seasoned artisan looking for your next weekend project or a complete beginner eager to unlock your artistic potential, this comprehensive guide delivers a curated selection of inspiring DIY craft ideas for adults, complete with step-by-step instructions, essential tools, and expert tips to ensure professional results.
The Mental & Therapeutic Benefits of Adult Crafting
Engaging in tactile, creative work offers profound psychological benefits. When you immerse yourself in a hands-on project, your brain enters a state of focused immersion often referred to as “flow.”
The Mental Wellness Benefits of Crafting:
1. STRESS REDUCTION ➔ Lowers cortisol & calms the mind
2. DIGITAL DETOX ➔ Unplugs eyes from blue-light screens
3. DOPAMINE BOOST ➔ Taps into the satisfaction of making
4. MOTOR SKILLS ➔ Maintains hand dexterity & coordination
According to occupational therapy research documented on Wikipedia, engaging in repetitive, structured hand motions—such as weaving, clay molding, painting, or knitting—promotes neural relaxation, lowers heart rate, and offers a meaningful sense of personal accomplishment.
Essential Starter Kit for Adult Crafters
Before diving into specific DIY craft ideas for adults, building a basic, versatile crafting toolkit ensures you have the right fundamentals on hand for almost any project.
| Tool / Supply | Primary Craft Application | Pro Tip for Beginners |
| Precision Craft Knife (X-Acto) | Intricate paper cutting, clay trimming, stencil making | Always use a self-healing cutting mat beneath your work surface |
| Dual-Temp Hot Glue Gun | Fast bonding for wood, fabric, ceramics, and florals | Use low heat for delicate fabrics; high heat for wood and thick board |
| Acrylic Paint Set & Sealant | Surface painting for terracotta, canvas, wood, and glass | Seal finished acrylic projects with matte or glossy varnish for durability |
| Air-Dry Clay | Sculpting trinket dishes, vase jackets, and wall hangings | Smooth minor cracks using a damp sponge before the clay completely dries |
| Mod Podge (Decoupage Glue) | Sealing paper, sealing fabric to wood, collage work | Apply in thin, even layers to prevent paper bubbling |
1. Stylish Home Decor DIY Projects for Adults
Elevate your living space with customized, high-end home accessories that blend seamlessly with modern interior design styles like Scandinavian minimalist, Japandi, or Bohemian chic.
Popular Modern Aesthetics for DIY Home Decor:
JAPANDI ➔ Natural wood tones, neutral clay, simplicity
BOHO CHIC ➔ Macrame cord, textured yarn, woven fibers
MINIMALIST➔ Clean geometric lines, monochrome palettes
Project 1: Minimalist Air-Dry Clay Trinket Dishes
Monochrome, organic-shaped trinket dishes are perfect for holding jewelry, keys, or loose coins on your entryway table or bedside nightstand.
- Supplies Needed: White air-dry clay, rolling pin, craft knife, gold leaf paint, fine-grit sandpaper, clear acrylic sealer.
- Step-by-Step Instructions:
- Roll out a lemon-sized piece of air-dry clay to roughly 1/4-inch thickness.
- Cut out an organic oval or freeform leaf shape using your craft knife.
- Gently press the edges upward over a small bowl or rounded surface to create a shallow dish shape.
- Let the clay dry completely for 24 to 48 hours.
- Sand any rough edges with fine-grit sandpaper until completely smooth.
- Paint the rim with metallic gold leaf paint and finish with a coat of clear acrylic sealer.
- Roll out a lemon-sized piece of air-dry clay to roughly 1/4-inch thickness.
Project 2: Textured Arch Canvas Wall Art
Textured 3D canvas art has taken the interior design world by storm. You can easily recreate this high-end look using basic hardware store materials.
- Supplies Needed: Blank stretched canvas, joint compound (spackle), notched trowel or comb, neutral acrylic paint (beige, terracotta, or soft sage).
- Step-by-Step Instructions:
- Spread a 1/4-inch thick layer of joint compound evenly across your canvas using a putty knife.
- Drag a notched trowel across the compound in sweeping arching motions to create deep, geometric ridges.
- Allow the compound to dry undisturbed for 24 hours until fully hardened.
- Paint the textured canvas using matte neutral acrylic paint to create a sophisticated, sculptural art piece.
- Spread a 1/4-inch thick layer of joint compound evenly across your canvas using a putty knife.
2. Upcycling & Eco-Friendly DIY Crafts
Transforming everyday household waste into beautiful, functional home accents is both budget-friendly and environmentally responsible. Upcycling gives old materials a second life while testing your creative problem-solving skills.
Project 3: Terracotta-Style Faux Ceramic Vases
Do not throw away old glass sauce jars or wine bottles! You can transform plain glass into trendy, faux-terracotta ceramic vases using a simple paint mixture.
- Supplies Needed: Empty glass bottles, acrylic craft paint, baking powder, foam paintbrushes.
- Step-by-Step Instructions:
- Clean the glass thoroughly and remove all paper labels.
- Mix 1 cup of acrylic paint with 1 tablespoon of baking powder in a small bowl. The mixture will puff up and create a thick, chalky texture.
- Paint the glass bottle using horizontal strokes.
- Allow the first coat to dry for 30 minutes, then apply a second coat to ensure complete coverage.
- Once dry, the glass will look like authentic, hand-fired matte terracotta pottery.
- Clean the glass thoroughly and remove all paper labels.
Project 4: Upcycled Wine Cork Succulent Planters
If you enjoy collecting wine corks, turn them into adorable mini magnetic planters for your refrigerator.
- Supplies Needed: Wine corks, pocket craft knife, small succulent cuttings, potting soil, hot glue gun, small heavy-duty magnets.
- Step-by-Step Instructions:
- Carefully hollow out the top center of a wine cork using a small craft knife, digging about halfway down.
- Glue a strong magnet to the flat side of the cork using hot glue.
- Fill the hollowed hole with a tiny pinch of potting soil and press a small succulent cutting inside.
- Attach your mini planter to the fridge or any metallic surface!
- Carefully hollow out the top center of a wine cork using a small craft knife, digging about halfway down.
For additional lifestyle inspiration, creative living guides, and home ideas, explore resources hosted on https://thezoqo.com/.
3. Fiber & Textile Crafts for Stress Relief
Working with soft yarns, cotton cords, and fabrics provides a rhythmic, meditative experience that helps lower stress while producing gorgeous, tactile items.
Steps to Start Macrame Weaving:
STEP 1 ➔ Mount base cord onto a wooden dowel rod
STEP 2 ➔ Practice basic knots (Lark’s Head & Square)
STEP 3 ➔ Repeat geometric knot patterns downwards
STEP 4 ➔ Trim and comb out bottom cord fringe
Project 5: Modern Macrame Wall Hanging
Macrame involves tying cotton cord into intricate knot patterns. It requires zero needles or specialized equipment—just your hands and cotton rope.
- Supplies Needed: 3mm or 4mm twisted cotton macrame cord, wooden dowel rod, sharp scissors, fine-tooth comb.
- Key Techniques: Master the Lark’s Head Knot to mount cords to your dowel rod, and the Square Knot to create woven geometric patterns.
- Finishing Touch: Once your knot pattern is complete, trim the hanging cord ends evenly and comb them out to create a soft, feather-like fringe.
Project 6: Hand-Poured Botanical Soy Candles
Making custom scented candles allows you to personalize your home fragrance while crafting beautiful gifts for friends and family.
- Supplies Needed: Soy wax flakes, cotton candle wicks, heat-proof glass jars, essential oils (lavender, eucalyptus, or vanilla), pressed dried flowers.
- Step-by-Step Instructions:
- Secure a cotton wick to the bottom center of your glass jar using a dab of hot glue.
- Melt soy wax flakes in a double boiler until fully liquefied (roughly 180°F / 82°C).
- Remove from heat, let cool slightly, and stir in your favorite blend of essential oils.
- Carefully pour the melted wax into the glass jar, keeping the wick centered.
- As the wax begins to set, gently place pressed dried flowers along the top surface for a botanical design.
- Secure a cotton wick to the bottom center of your glass jar using a dab of hot glue.
4. Personalized Handmade Gift Ideas
Handmade gifts carry an emotional weight and personal thoughtfulness that store-bought items simply cannot match. Here are two customizable DIY craft ideas for adults that make unforgettable presents.
Project 7: Customized Pressed Flower Glass Frames
Preserve seasonal garden blooms or special bouquet flowers inside floating glass frames for timeless botanical wall art.
- Supplies Needed: Floating double-glass picture frame, pressed dried flowers, tweezers, clear craft glue.
- Step-by-Step Instructions:
- Press fresh flowers inside heavy books lined with parchment paper for 1 to 2 weeks until completely dry and flat.
- Open your floating glass frame and arrange the dried blooms on the back glass panel using tweezers.
- Apply tiny dots of clear craft glue behind the flowers to hold them in place.
- Close the top glass panel and secure the frame.
- Press fresh flowers inside heavy books lined with parchment paper for 1 to 2 weeks until completely dry and flat.
Project 8: Marbled Enamel Mug Sets
Create stunning, swirled ceramic coffee mugs using an unexpected household item: nail polish floating on water!
- Supplies Needed: Plain white ceramic mugs, plastic tub filled with warm water, bright nail polish colors, toothpick, clear gloss sealer.
- Step-by-Step Instructions:
- Drizzle a few drops of nail polish into a tub of warm water. The polish will float on top.
- Swirl the floating polish gently using a toothpick to create a marble pattern.
- Dip the bottom half of a ceramic mug straight down into the water, then pull it back out. The marbled polish instantly transfers onto the ceramic surface!
- Allow to dry completely, then seal with a dishwasher-safe clear gloss glaze.
- Drizzle a few drops of nail polish into a tub of warm water. The polish will float on top.
5 Pro Tips for DIY Success
- Work in a Well-Ventilated Space: When using sealants, spray paints, epoxy resins, or hot glue, always work near open windows or outdoors to avoid breathing in fumes.
- Protect Your Work Surfaces: Cover your table with butcher paper, silicone mats, or old cardboard before starting messy glue or paint projects.
- Embrace Imperfections: Handmade items carry subtle variations that give them character. Do not stress over small flaws—they are proof of authentic craftsmanship!
- Batch Your Projects: If you are making gifts, create 3 or 4 items at the same time. Batching saves setup time and maximizes your material efficiency.
- Organize Your Craft Storage: Keep your supplies organized in clear plastic bins labeled by craft type (e.g., “Painting,” “Clay,” “Yarn & Textiles”) so you can dive straight into creative work without searching for missing tools.
Final Thoughts: Unlocking Your Creative Potential
Exploring DIY craft ideas for adults is one of the most rewarding ways to spend your weekend. Whether you are moulding minimalist clay dishes, upcycling glass jars into modern vases, or weaving macrame wall art, crafting provides a satisfying mental reset while adding unique handmade beauty to your life. Pick a project from this list, gather your supplies, and enjoy the transformative process of creating something beautiful with your own hands.
A small thank you note from me to the team behind this work, the post earned it, and a stop at glassvendorcorner suggested more thanks would be in order over time, recognising the people who do good writing online is something I try to remember to do because the alternative is silence and silence rewards mediocrity unfortunately.
The clarity here is something I really appreciate, especially compared to sites that pile on jargon for no reason, and a look at deltavendor was the same, simple direct sentences that actually deliver information instead of dancing around the point for paragraphs at a time which wastes reader patience.